

When to use it
- Capping a giveaway or promo link at a fixed number of redemptions.
- Limiting early-access or beta links to the first N visitors.
- Enforcing a hard ceiling on a paid placement you only bought so many clicks for.
How to use it
1
Open Advanced
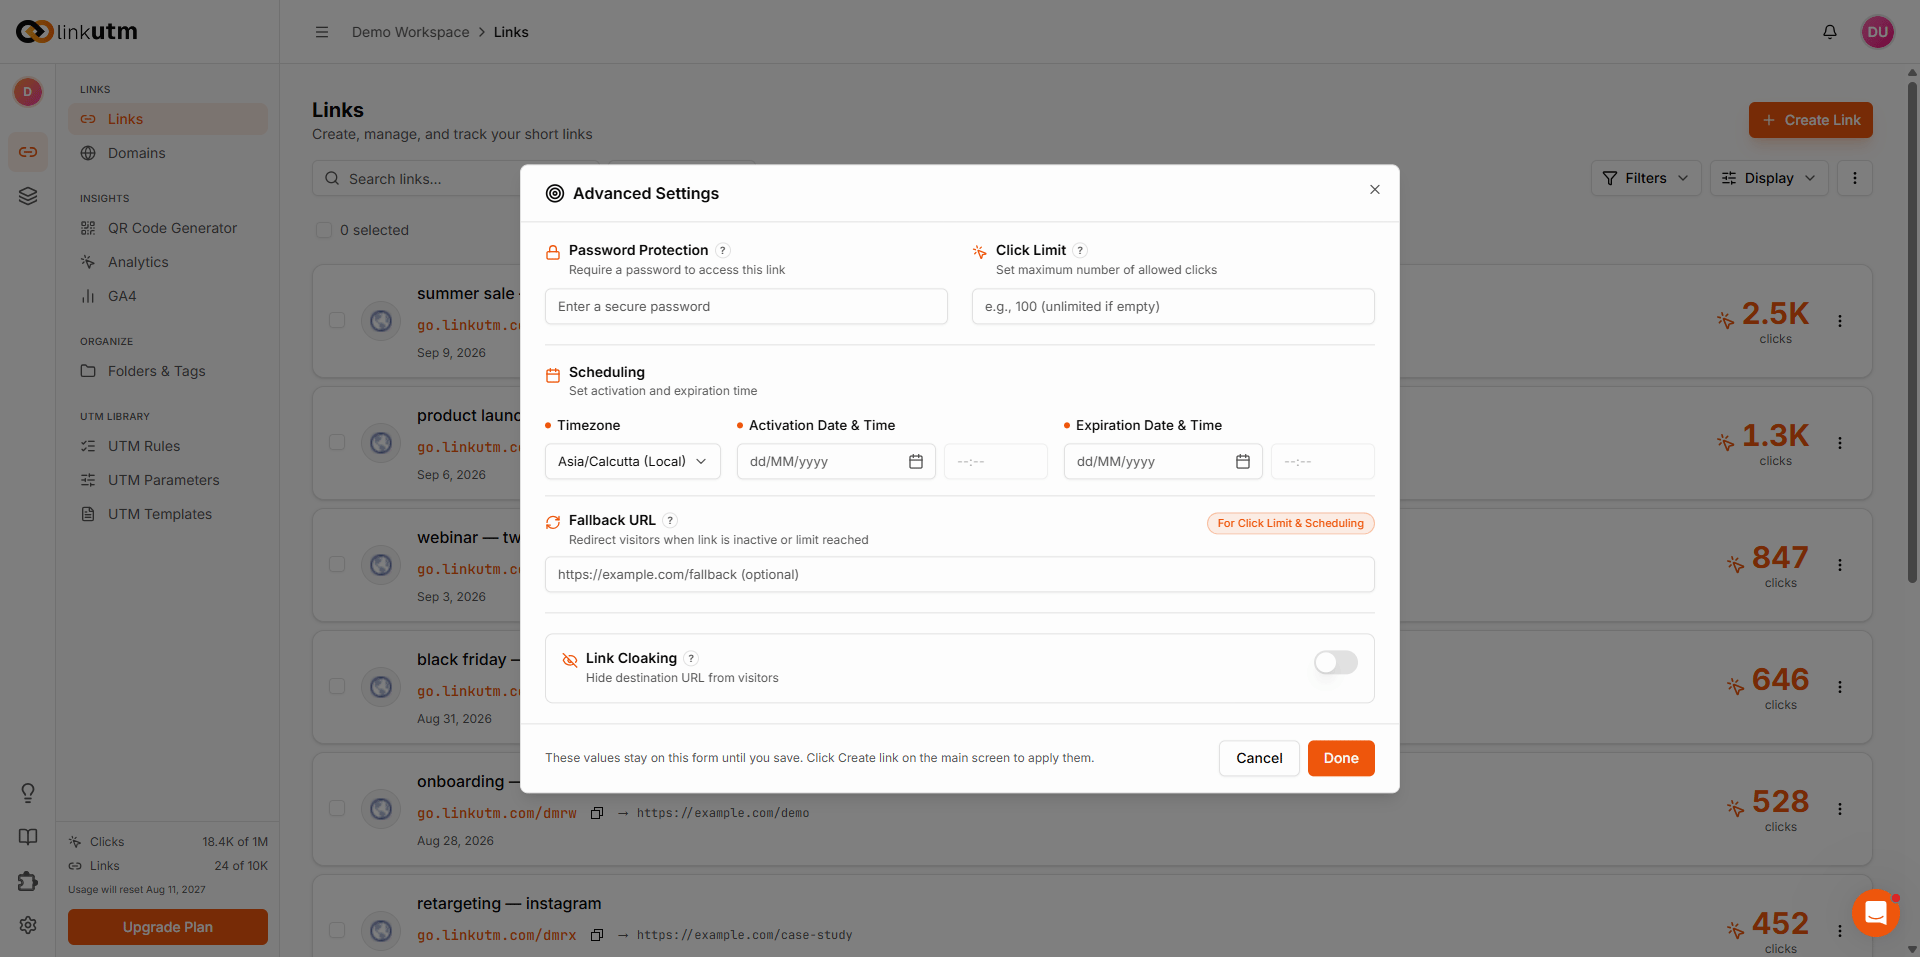
In the create or edit link panel, click Advanced in the bottom bar.
2
Set a click limit
Type a number in Click Limit. The counter increments on each real visit. Once the limit is reached, the link stops redirecting.
3
Set a fallback URL (optional)
Enter a Fallback Redirect URL to send visitors somewhere useful after the limit is hit. Without one, they see a “not found” response.
4
Save
The limit is stored on the link. Counting and cutoff happen automatically.
Real-world example
A product giveaway capped at the first 500 entries, with a fallback to the waitlist:Common mistakes
Setting a low limit on a high-traffic link
Setting a low limit on a high-traffic link
Clicks can spike fast. A limit of 100 on a link that suddenly gets 50,000 impressions cuts off almost everyone. Set a limit only when a hard cap is the actual intent.
No fallback URL
No fallback URL
Without a fallback, visitors after the limit see a “not found” response. Set a fallback so they land somewhere useful.
Expecting the counter to reset
Expecting the counter to reset
The limit is a lifetime total for the link, not per day. Once hit, it stays hit until you raise the limit.
Edge cases
Click limit vs. expiration. Both stop the link when triggered. If both are set, whichever condition is hit first stops the link. The fallback URL applies in both cases. See scheduling and expiration.
Past clicks stay in analytics. Reaching the limit only stops new redirects. Clicks already recorded remain in reporting.
Raising the limit reactivates the link. If a link has stopped at its limit, increasing the number lets it redirect again from the next visit.